Planning a wedding is magical… until your to-do list starts looking like a never-ending scroll of chaos. 😅 Between booking vendors, finalizing guest lists, and choosing the perfect flowers, it’s easy to feel overwhelmed.
But here’s the secret: an organized wedding planning checklist changes everything.
When your tasks are structured, prioritized, and beautifully laid out, you’ll feel calm, confident, and totally in control — just like a pro wedding planner.
Let’s break down exactly how to organize your wedding planning checklist step by step.
Start With a Master Timeline
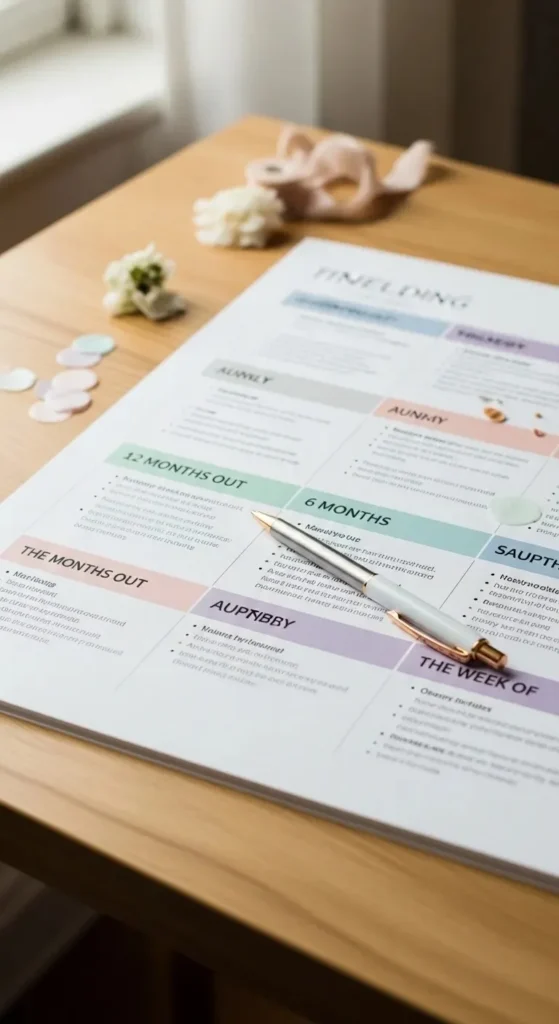
The first rule of organized wedding planning? Think big picture first.
Before diving into tiny details, create a master timeline based on your wedding date.
Break it down by months:
- 12+ months before: Venue, budget, guest list draft
- 9–10 months before: Photographer, caterer, dress shopping
- 6–8 months before: Invitations, décor, hair & makeup
- 3–5 months before: Final fittings, transportation, rehearsal planning
- 1–2 months before: Final confirmations, seating chart, payments
This structure prevents last-minute panic and keeps everything flowing smoothly.
Pro tip: Use a spreadsheet or digital planning app if you love structure — or a printed binder if you prefer pen and paper.
Divide Your Checklist Into Clear Categories
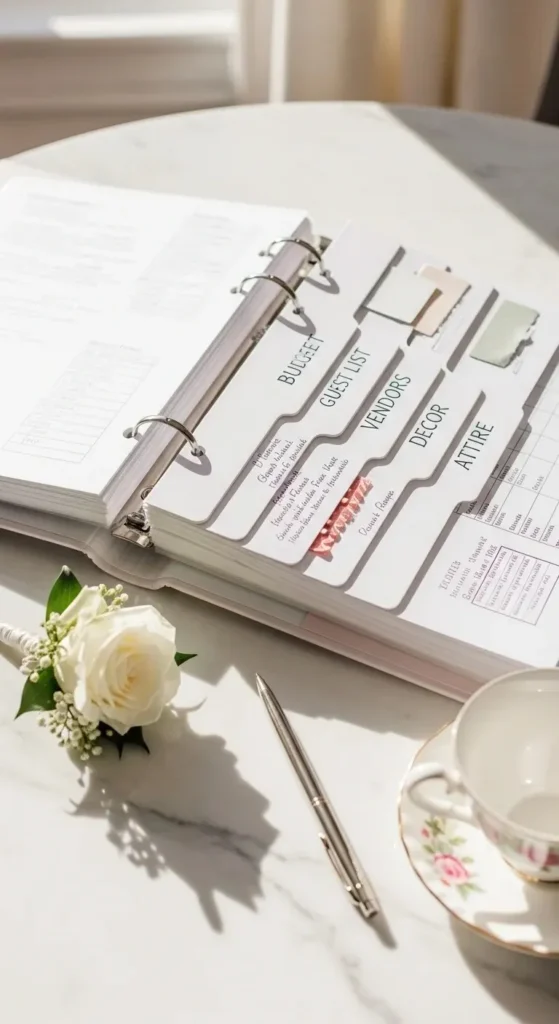
Instead of one giant overwhelming list, break your checklist into categories.
Here are the core sections every bride needs:
- 💰 Budget & Payments
- 📍 Venue & Logistics
- 👗 Attire (Bride, Groom, Wedding Party)
- 📸 Vendors (Photo, Video, DJ, Florist)
- 💌 Invitations & Stationery
- 🍽 Catering & Cake
- 🪑 Seating & Guest Experience
- 🎀 Décor & Details
Why this works:
When tasks are grouped by category, your brain processes them faster. It also makes delegation easier — you can assign entire sections to family members or your partner.
Prioritize What Actually Matters
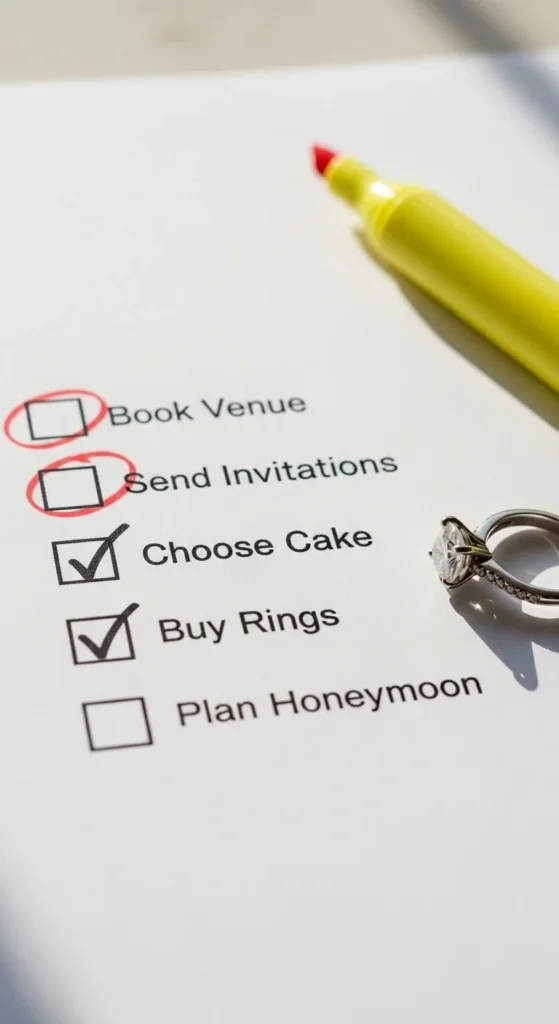
Not every task carries the same weight.
If you try to treat everything as urgent, you’ll burn out fast.
Instead, label each task as:
- Must-do
- Important but flexible
- Nice-to-have
For example:
- Booking your venue? → Must-do
- Custom cocktail napkins? → Nice-to-have
This helps you:
- Stay within budget
- Reduce unnecessary stress
- Focus on what truly makes your wedding special
Remember: perfection isn’t the goal — priorities are.
Go Digital (Even If You Love Paper)
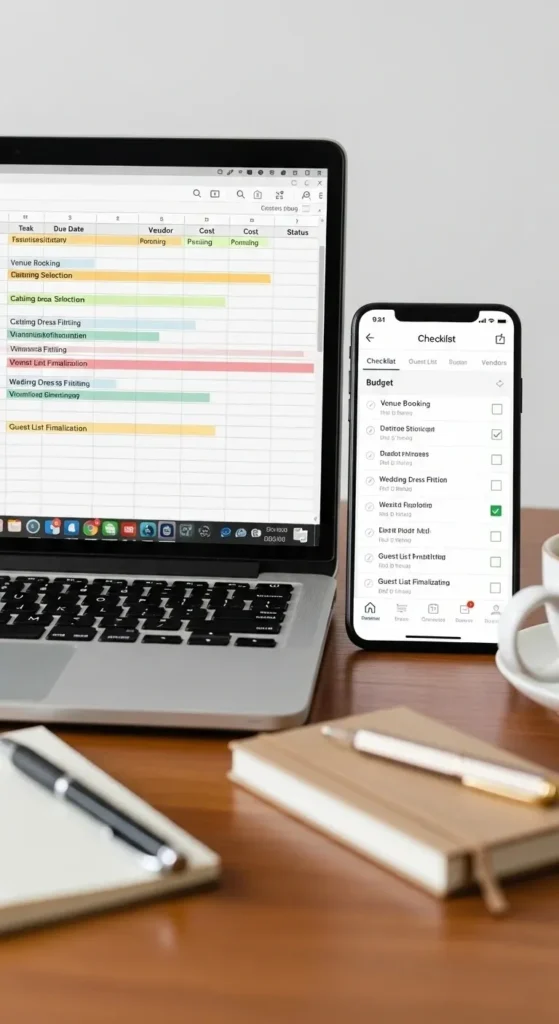
Even if you adore handwritten lists, having a digital backup is a lifesaver.
Why digital helps:
- Easy edits
- Shareable with your partner
- Accessible anywhere
- Automatic reminders
Create simple columns like:
| Task | Category | Deadline | Budget | Status |
Color-code your status:
- Green = Done
- Yellow = In progress
- Red = Urgent
This gives you a clear visual snapshot of where you stand at any moment.
Schedule Weekly “Wedding Power Hours”

Instead of thinking about wedding planning 24/7, schedule one focused session each week.
Call it your Wedding Power Hour.
During this time:
- Review your checklist
- Update completed tasks
- Discuss next steps
- Send necessary emails
Outside that hour?
Give yourself permission to relax.
This keeps wedding planning productive — not overwhelming.
Track Payments and Contracts Carefully
One of the most overlooked checklist sections is payment tracking.
Create a dedicated payment tracker that includes:
- Vendor name
- Total cost
- Deposit paid
- Remaining balance
- Due date
This prevents:
- Missed deadlines
- Double payments
- Surprise expenses
Bonus tip: Keep digital copies of every contract in one cloud folder labeled clearly by vendor name.
Future you will be so grateful.
Keep a “Final Moment” Mini Checklist

The final 30 days deserve their own focused list.
Include tasks like:
- Confirm headcount with caterer
- Final dress fitting
- Create seating chart
- Prepare emergency kit
- Confirm vendor arrival times
Keeping this separate from your master checklist avoids confusion and helps you zero in on final details.
Don’t Forget a Wedding Day Checklist

Yes — even the wedding day needs a list!
Prepare a simple timeline for:
- Getting ready
- Photographer arrival
- Ceremony start
- Reception transitions
- Cake cutting
- Send-off
Share this with:
- Your planner (if you have one)
- Maid of honor
- Key family members
That way, you won’t be the one answering questions all day.
Final Thoughts
Organizing your wedding planning checklist like a pro isn’t about being rigid — it’s about creating clarity.
When your tasks are:
- Categorized
- Prioritized
- Scheduled
- Tracked
You replace stress with confidence.
And that means more time enjoying your engagement — and less time worrying about what you forgot.
Take a deep breath, grab your planner, and start organizing today. 💍
Save this guide for later and pin it to your wedding planning board!